DIY Metal Roof Installation Tips: Play exchange 99, Lotus365 login, Playxchange
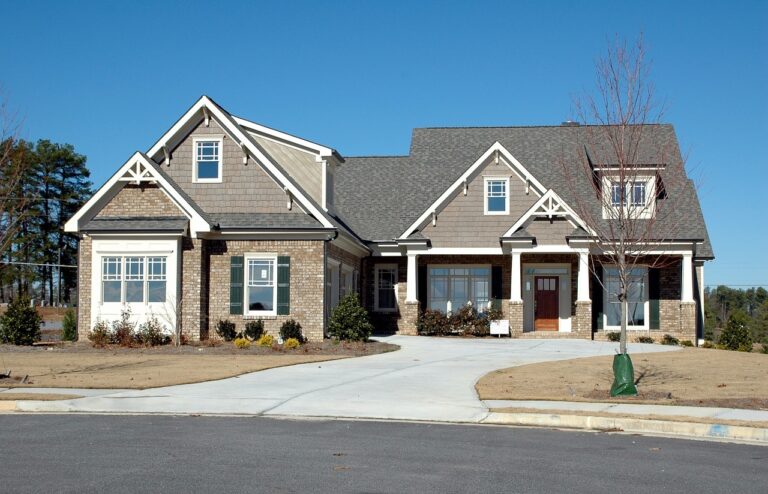
play exchange 99, lotus365 login, playxchange: Installing a metal roof on your own can be a challenging yet rewarding project. With the right tools, materials, and know-how, you can save money and add value to your home. In this guide, we’ll provide you with some DIY metal roof installation tips to help you get the job done right.
1. Planning and Preparation
Before you start installing your metal roof, it’s essential to plan and prepare properly. Make sure you have all the necessary materials and tools on hand, and familiarize yourself with the installation process.
2. Safety First
Safety should always be your top priority when working on your roof. Make sure you have the appropriate safety gear, such as gloves, goggles, and a harness. It’s also a good idea to have someone else with you to help with the installation and in case of an emergency.
3. Choose the Right Type of Metal Roof
There are various types of metal roofing materials available, such as steel, aluminum, and copper. Each material has its own benefits and drawbacks, so be sure to choose the one that best suits your needs and budget.
4. Measure and Calculate
Accurate measurements are crucial when installing a metal roof. Measure the dimensions of your roof carefully and calculate the amount of metal roofing material you will need. It’s always a good idea to buy a bit extra to account for any mistakes or mishaps.
5. Prepare the Roof
Before installing the metal panels, you’ll need to prepare the roof surface. This typically involves removing any old roofing materials, such as shingles or tiles, and making sure the roof deck is in good condition.
6. Install Underlayment
Once the roof surface is prepared, it’s time to install the underlayment. This will provide an extra layer of protection against water and debris and help to ensure a watertight seal.
7. Install the Metal Panels
Now it’s time to start installing the metal panels. Begin at one corner of the roof and work your way across, following the manufacturer’s instructions carefully. Use roofing screws to secure the panels in place, making sure they are evenly spaced and properly sealed.
8. Trim and Flashing
Once all the panels are installed, it’s time to trim any excess material and add flashing to ensure a watertight seal around vents, chimneys, and other openings.
9. Finishing Touches
After the panels are installed and the flashing is in place, you can add the finishing touches, such as ridge caps and trim pieces, to complete the look of your metal roof.
FAQs
Q: How long does it take to install a metal roof?
A: The time it takes to install a metal roof can vary depending on the size and complexity of your roof, as well as your level of experience. On average, it can take anywhere from a few days to a week to complete the installation.
Q: Can I install a metal roof over my existing roof?
A: In some cases, it is possible to install a metal roof over an existing roof. However, this is not always recommended, as it can void warranties and lead to other issues. It’s best to consult with a professional roofer to determine the best course of action for your specific situation.
Q: How much does it cost to install a metal roof?
A: The cost of installing a metal roof can vary depending on factors such as the size of your roof, the type of metal roofing material you choose, and the complexity of the installation. On average, you can expect to pay anywhere from $5 to $15 per square foot for a metal roof installation.
In conclusion, installing a metal roof on your own can be a challenging but achievable project with the right tools, materials, and know-how. By following these DIY metal roof installation tips, you can save money and add value to your home while ensuring a durable and long-lasting roof.